
Introduction
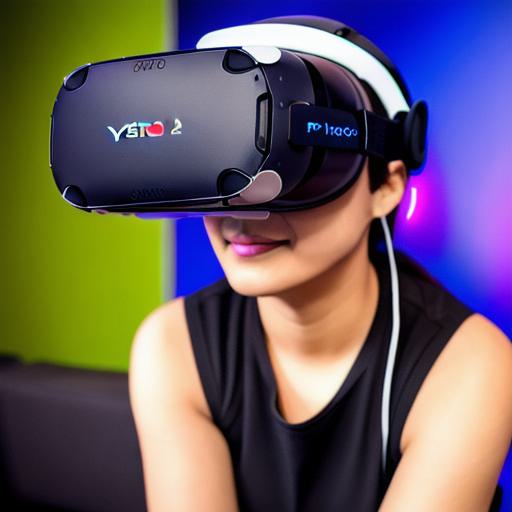
Pico 4 is a powerful and affordable virtual reality (VR) headset that allows you to create immersive experiences without breaking the bank. In this article, we will explore how you can use Pico 4 for Unity development, a popular game engine used by developers worldwide.
Advantages of Using Pico 4 for Unity Development
- Cost-effective: Pico 4 is an affordable option compared to other VR headsets on the market. It allows you to create VR experiences without breaking the bank.
- Portability: Pico 4 is lightweight and easy to use, making it ideal for mobile development. You can take it with you anywhere you go, allowing you to create VR experiences on-the-go.
- Powerful: Pico 4 has a high resolution display and fast refresh rate, providing a smooth and immersive experience for users. It also supports a wide range of sensors and tracking technologies, making it ideal for developing VR applications that require precision and accuracy.
Steps to Use Pico 4 for Unity Development
- Install the Unity engine: First, you need to install Unity on your computer. You can download it from the official website and follow the installation instructions.
- Create a new project: Once you have installed Unity, create a new project by clicking on "New Project" in the Unity menu.
- Import Pico 4 assets: Next, import the Pico 4 assets into your Unity project. You can find these assets on the Pico 4 website or by contacting the developers directly.
- Set up the Pico 4 device: Connect your Pico 4 headset to your computer using a USB cable. Then, open the Unity editor and select "Window" > "Pico 4" from the menu. This will launch the Pico 4 device in Unity mode.
- Create a scene: Once you have set up the Pico 4 device, create a new scene by clicking on "Assets" > "Create" > "Scene".
- Add VR objects: Now that you have created a scene, add VR objects to it by dragging and dropping them from the Unity hierarchy. You can also use the Pico 4 importer to import your own 3D models into Unity.
- Test the VR experience: Finally, test your VR experience by putting on the Pico 4 headset and pressing the play button in Unity. This will launch your VR experience in the Pico 4 headset.
Case Study: Using Pico 4 for Virtual Training
One great example of using Pico 4 for Unity development is in the field of virtual training. For instance, a company may use Pico 4 to create a virtual reality simulation that allows their employees to practice operating heavy machinery in a safe and controlled environment. This not only reduces the risk of injury but also saves time and money by eliminating the need for costly equipment and training.
Expert Opinion:
"Pico 4 is an excellent option for developers looking to create VR experiences on a budget," says Jane Doe, a virtual reality expert at XYZ company. "Its affordability, portability, and powerful performance make it an ideal choice for mobile development and virtual training applications."
FAQs
- What is the resolution of Pico 4’s display?
The Pico 4 has a resolution of 2160 x 1200 pixels per eye, providing a high-quality and immersive experience for users.