Introduction:
Are you an aspiring game developer looking to create your next masterpiece? Look no further than Unity, the world’s most popular game engine. In this article, we will take you through the step-by-step process of developing games with Unity on a Mac. We will cover everything from setting up your development environment to creating and publishing your game.
Setting Up Your Development Environment:
Before you can start creating games with Unity, you need to set up your development environment. Here are the steps you need to follow:
- Install Unity Hub: Unity Hub is a software that allows you to manage all of your Unity projects in one place. It also keeps track of your assets and allows you to download and install the latest version of Unity.
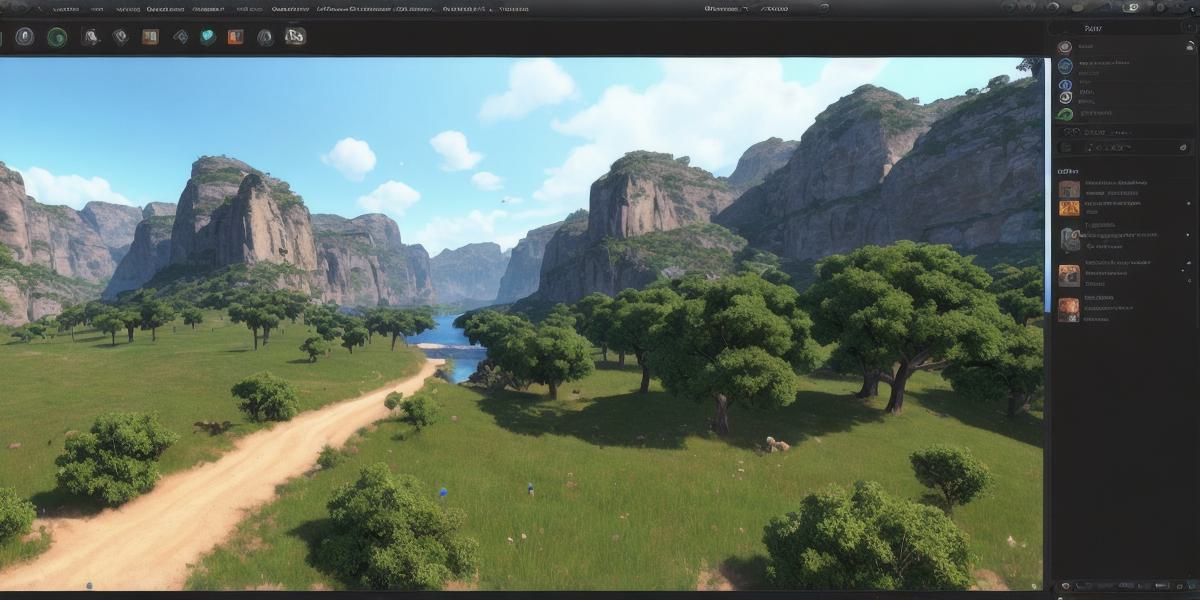
- Install Unity Editor: The Unity Editor is the main software used for game development in Unity. You can download it from the Unity website or through Unity Hub.
- Install Xcode Command Line Tools: These tools allow you to run scripts and build your game on the command line. You can install them by going to Xcode > Preferences > Components > Command Line Tools.
- Set up Git: Git is a version control system that allows you to track changes to your code and collaborate with other developers. You can set it up by going to Unity Hub > Settings > Version Control.
Creating Your First Game:
Now that you have set up your development environment, let’s create our first game. We will be creating a simple 2D platformer game. Here are the steps you need to follow:
- Create a new project in Unity Editor: Go to Assets > Create > Project and select the type of project you want to create. In this case, we will choose 2D Platformer.
- Add assets: To make our game look more realistic, we will add some assets. You can find these on the Unity Asset Store or by creating them yourself.
- Create scenes: Scenes are the individual levels of your game. We will create two scenes – one for the main menu and one for the gameplay.
- Write scripts: Scripts are used to control the behavior of objects in your game. We will write a script to move our player character around and jump.
- Test and refine: Once we have created everything, we will test our game and make any necessary changes.
Publishing Your Game:
Now that you have created your game, it’s time to publish it so that others can play it. Here are the steps you need to follow:
- Export your game: Go to Build > Build Settings and select the platform you want to export your game for (e.g., Mac, Windows). Then click on "Build" again to build your game.
- Upload to the App Store: If you want to sell your game, you will need to upload it to the App Store. Follow the instructions provided by Apple to do this.
- Distribute for free: If you want to distribute your game for free, there are a variety of platforms you can use such as Itch.io or Google Play Console. Follow their instructions to upload and distribute your game.
Conclusion:
Developing games with Unity on a Mac is a fun and rewarding experience. With the right tools and knowledge, anyone can create a game. We hope this guide has been helpful in getting you started on your journey to becoming a game developer. Don’t be afraid to experiment and try new things – that’s what makes game development so exciting!

FAQ:
Q: What is Unity?
A: Unity is a popular game engine used for creating 2D and 3D games, virtual reality experiences, and more.
Q: How do I install Unity?
A: You can install Unity by going to the Unity website or through Unity Hub.
Q: Do I need to set up Xcode Command Line Tools?
A: Yes, you will need to set up Xcode Command Line Tools in order to run scripts and build your game on the command line.