Are you a developer looking to enter the world of virtual reality (VR) development? If so, Unity and Vive are two powerful tools that you need to know. In this article, we will walk you through the steps to get started with Unity Vive development. We will also provide tips and best practices to ensure your success in this exciting field.
What is Unity Vive Development?
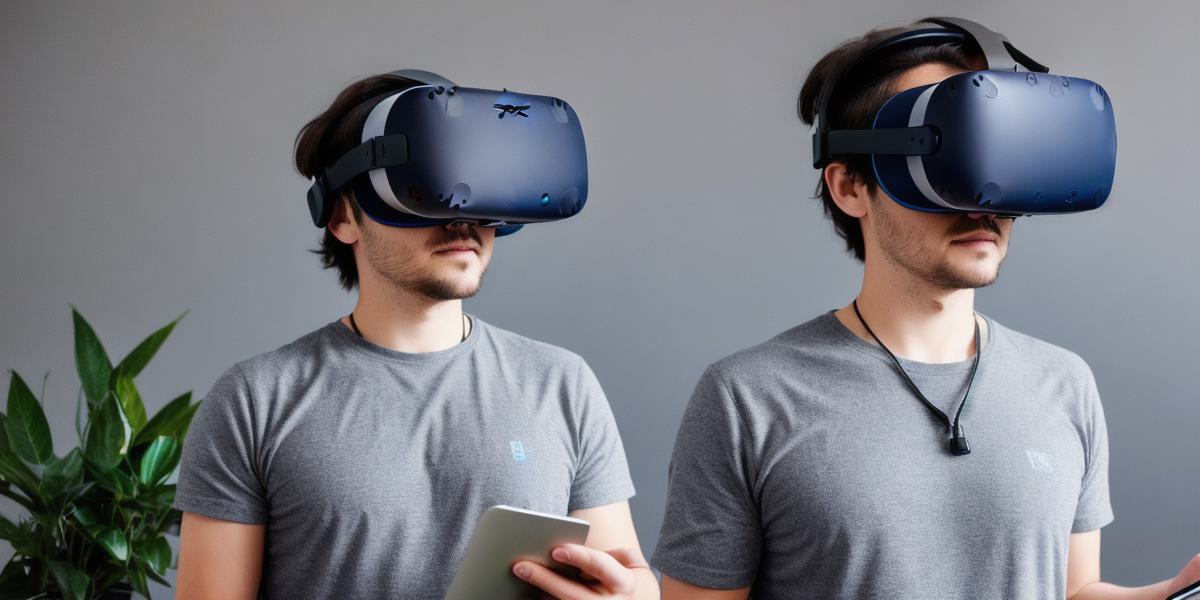
Unity is a popular game engine that allows developers to create immersive experiences for a variety of platforms, including VR. Vive is a high-end VR headset that provides an incredible level of immersion and interaction. When combined with Unity, you can create powerful VR applications that are both engaging and interactive.
Getting Started with Unity
The first step to getting started with Unity Vive development is to download and install the latest version of Unity. You can do this by visiting the official Unity website (https://unity3d.com/) and following the installation instructions. Once you have installed Unity, you will need to create a new project. This will be the basis for your VR application.
When creating a new project, you will need to select the Vive platform as your target. This will ensure that your application is optimized for use with Vive. You will also need to choose a template for your project. Unity offers a variety of templates that can help you get started quickly and easily.
Learning the Basics of Unity
Once you have created your new project, it’s time to start learning the basics of Unity. There are many resources available online that can help you do this. These include tutorials, video courses, and documentation. Some popular resources for learning Unity include Udemy (https://www.udemy.com/topic/unity/), Pluralsight (https://www.pluralsight.com/topics/gaming-and-simulation), and the official Unity documentation (https://docs.unity3d.com/).
One of the best ways to learn Unity is by doing. Start with simple projects and gradually build up to more complex ones. This will help you gain experience and confidence in your skills. You can also join online communities and forums where you can ask questions and get feedback from other developers.
Getting Started with Vive

The next step to getting started with Unity Vive development is to download and install the latest version of Vive. You can do this by visiting the official Vive website (https://www.vive.com/) and following the installation instructions. Once you have installed Vive, you will need to set it up for use with your computer. This involves connecting the headset to your computer using a USB cable and installing the necessary drivers.
Once you have set up Vive on your computer, you will need to create a new user account. This will be used to track your progress and settings across different applications. You will also need to download and install the Unity Hub application, which is a tool that allows you to manage and launch your Unity projects from within Vive.
Creating Your First VR Application
Now that you have both Unity and Vive set up on your computer, it’s time to start creating your first VR application. When creating a new VR application, there are a few key things to keep in mind. First, you will need to create a scene for your application. This is the virtual world that users will interact with when they put on their headset.