Building a PC specifically designed for Unity development requires careful consideration of several key factors. In this comprehensive guide, we’ll take a closer look at how to choose the right components and assemble your PC for optimal performance in game development using Unity.
Choosing the Right Components
When building a PC for Unity development, it’s important to consider the following factors:
- Processor: A powerful processor is essential for running Unity smoothly. Look for a multi-core processor with a high clock speed, such as an Intel Core i7 or AMD Ryzen 9.
- Graphics Card: The graphics card is another critical component when it comes to game development. Choose a card that supports DirectX 12 or Vulkan, which are the two most popular graphics APIs used by Unity. Good options include the Nvidia GTX series and AMD Radeon series.
- RAM: The amount of RAM you need will depend on the complexity of your project and the number of assets you’ll be working with. As a general rule, 16GB is a good starting point, but consider going for 32GB if working on large-scale projects or using advanced features like ray tracing.
- Storage: A solid-state drive (SSD) will be much faster than a hard drive (HDD), which is important when working with large files and assets. An SSD with at least 512GB of storage should be sufficient for most projects, but consider going for a larger capacity if you have the budget.
Assembling Your PC
Once you’ve chosen your components, it’s time to start assembling your PC. Here are some steps to follow:
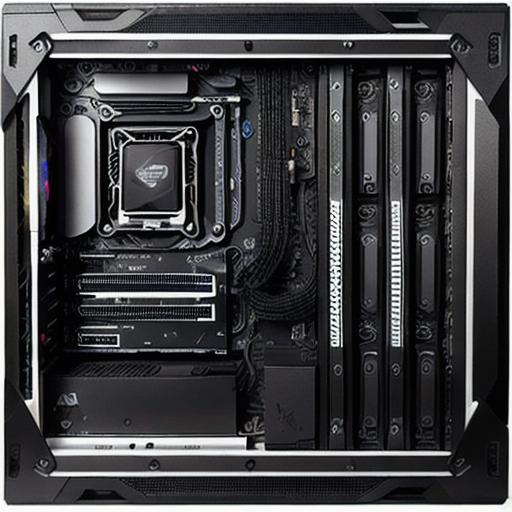
- Install the CPU into the socket on the motherboard according to the manufacturer’s instructions.
- Install the RAM into the appropriate slots on the motherboard. Make sure you match the type and capacity of the RAM you ordered.
- Install the graphics card into the PCIe slot on the motherboard. Again, make sure you match the type and compatibility of the card you ordered.
- Install the power supply unit (PSU) into the case and connect it to the motherboard, CPU, RAM, and other components according to the manufacturer’s instructions.
- Connect all cables from the PSU to the motherboard, CPU, RAM, and other components as required.
- Power on the PC and boot up into the BIOS setup menu to configure settings like time and date, power options, and security features.
- Install your operating system (e.g., Windows 10) and install any necessary drivers for your components.
- Install Unity and any other software you need for your project.
Optimizing Your PC for Unity Development
Now that your PC is up and running, it’s time to start optimizing it for Unity development. Here are some tips:
- Adjust graphics settings: In the Unity editor, you can adjust graphics settings like resolution, anti-aliasing, and shadow quality to improve performance. However, be careful not to set these settings too high, as this can cause your PC to slow down or even crash.
- Use optimized assets: Unity has a large library of pre-made assets that are designed to work well with the engine. Look for assets that are optimized for your specific project and use them whenever possible.
- Avoid excessive use of scripts: While scripts are an important part of game development, they can also be a performance bottleneck if overused. Try to keep your code clean and concise, and only use scripts when necessary.
In conclusion, building a PC specifically designed for Unity development requires careful consideration of several key factors.