Unity is one of the most popular game development engines, and it’s easy to see why. With its intuitive interface and powerful performance, Unity allows developers to create stunning 3D games with ease. But before you can start building your masterpiece, you need to set up your PC for Unity development. In this guide, we’ll walk you through the process of setting up a PC for Unity development, step by step.
System Requirements
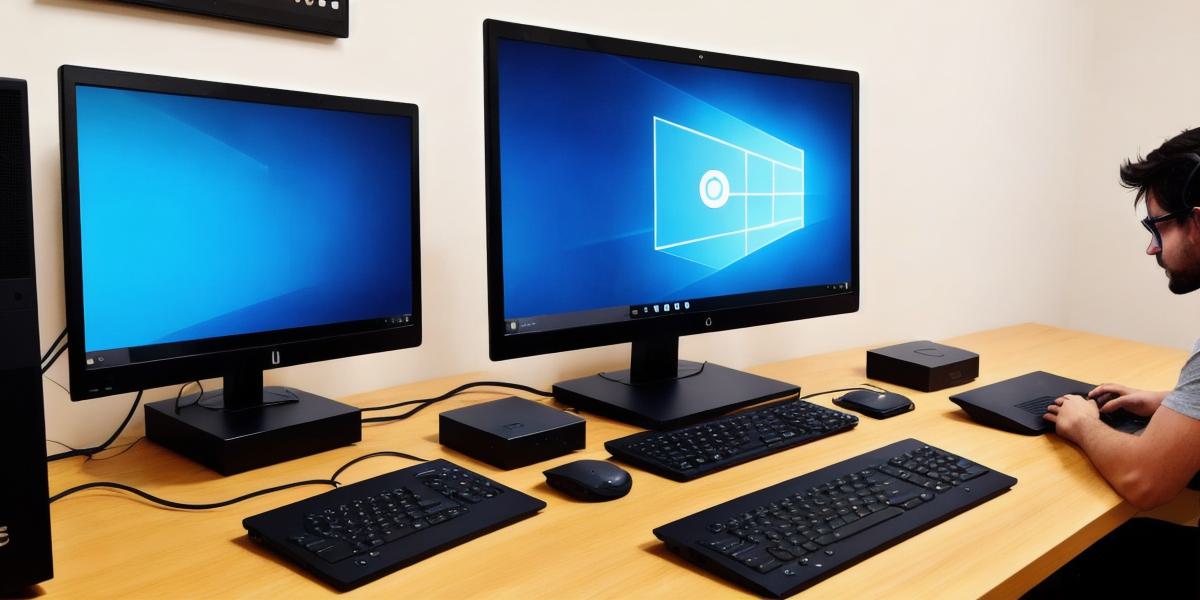
Before you begin, it’s important to make sure your PC meets the minimum system requirements for Unity. These include:
- Operating System: Windows 7 or later
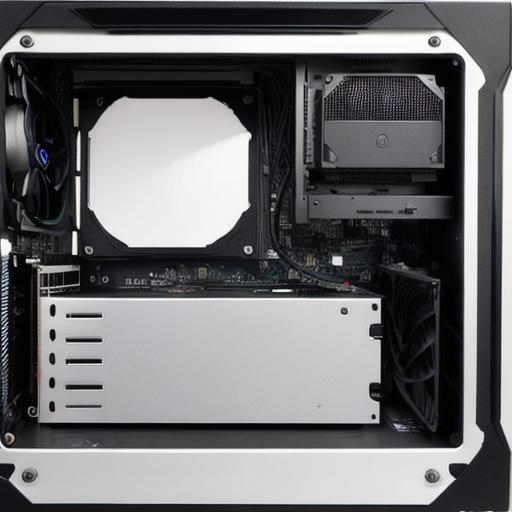
- Processor: Intel Core i3 or AMD FX-6000 Series or better
- RAM: 4GB or more
- Graphics Card: NVIDIA GeForce GTX 450 or AMD Radeon HD 5770 or better
- Hard Disk Space: At least 1.5 GB free space
If your PC doesn’t meet these requirements, you may experience slow performance or crashes while using Unity. However, if your PC meets the requirements, you’re ready to get started.
Installing Unity
The first step in setting up a PC for Unity development is to install the engine itself. You can download the latest version of Unity from the official website, www.unity3d.com. Once you’ve downloaded the installer, follow these steps:
- Run the installer and select "Install"
- Follow the on-screen prompts to complete the installation process
- Once the installation is complete, open Unity by double-clicking on the shortcut icon on your desktop
Configuring Unity
Now that you’ve installed Unity, it’s time to configure it for your specific needs. This includes setting up your project settings and selecting the appropriate components for your game. Here are the steps to follow:
- Open Unity and create a new project by clicking on "File" > "New Project"
- Select "3D" as the project template and click "Next"
- Choose a location to save your project files and give it a name
- In the "Project Settings" window, configure your project settings to match your needs. This includes selecting the appropriate scriptable runtime, setting up the rendering pipeline, and configuring audio and other multimedia components
- Once you’ve configured your project settings, select the appropriate components for your game. This includes selecting a camera, adding lights and other effects, and creating objects and characters
Optimizing Performance
One of the most important things to consider when setting up a PC for Unity development is optimizing performance. This includes tweaking settings to improve frame rates, reducing load times, and minimizing resource usage. Here are some tips to help you optimize your Unity project:
- Use lower-poly models and textures to reduce the amount of data that needs to be processed by the engine
- Disable any unnecessary features or effects in your game, such as reflections or particle systems, to reduce load times
- Use a profiler tool to identify performance bottlenecks and optimize your code accordingly
- Enable script compilation to improve performance and reduce the amount of memory used by the engine
Summary
Setting up a PC for Unity development may seem daunting at first, but with the right knowledge and tools, it’s a breeze.