Are you a developer looking to create immersive virtual reality (VR) experiences? Look no further than Unity Quest 2, the latest in VR technology. In this beginner’s guide, we will walk you through the steps of getting started with Unity Quest 2 development.
Unity Quest 2 is a standalone VR headset that offers an unparalleled level of immersion and interactivity. With its high-resolution display and advanced tracking capabilities, it provides developers with a powerful platform for creating engaging and interactive VR experiences.
To get started with Unity Quest 2 development, you will need a few basic tools and knowledge:
- A computer with Unity installed – You can download Unity from the official website (https://unity3d.com/products/unity).
- Familiarity with C programming language – While Unity supports multiple programming languages, including C, JavaScript, and Boo, most developers use C due to its versatility and performance.
- Basic knowledge of VR development – If you are new to VR development, it’s essential to learn the basics before diving into Unity Quest 2 development. There are many online tutorials and resources available that can help you get started.
Now that you have the necessary tools and knowledge, let’s take a look at some key steps to get started with Unity Quest 2 development:
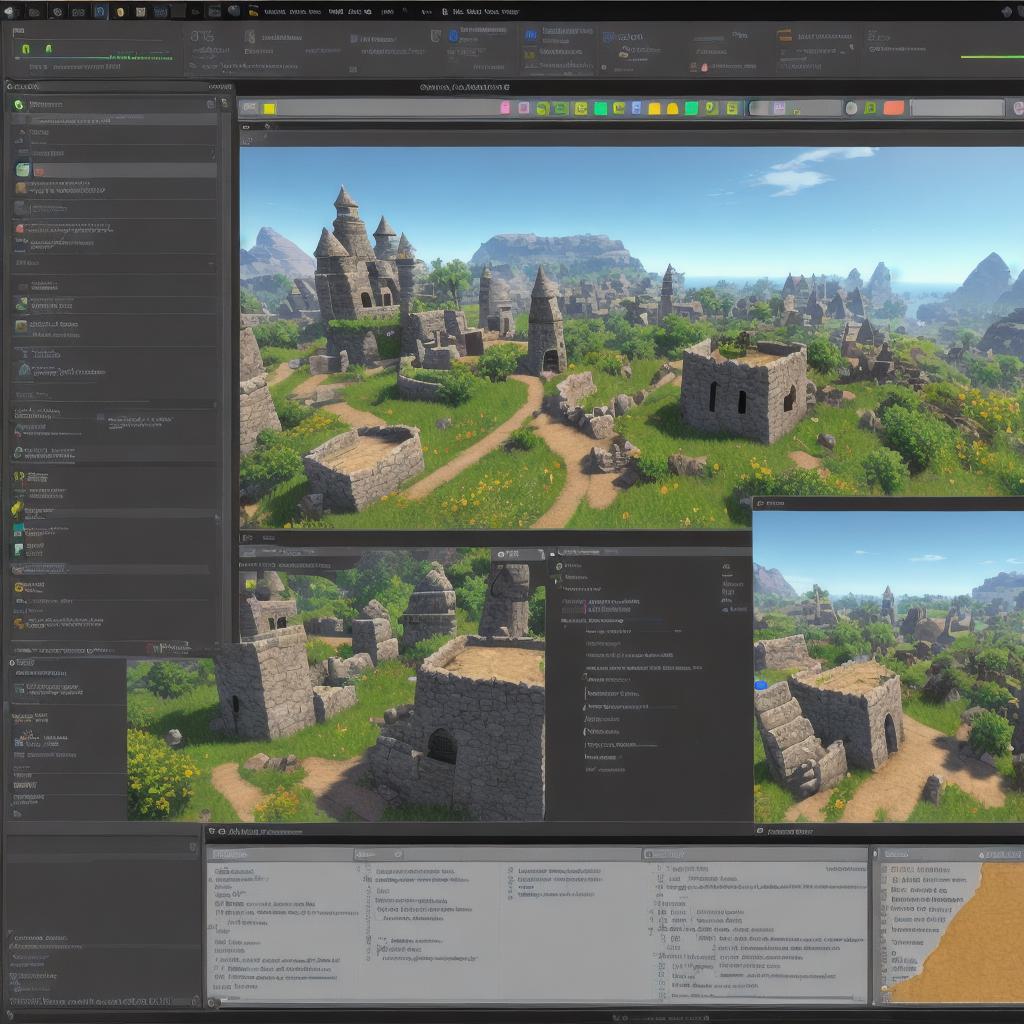
- Create a new project in Unity – Open Unity and create a new project by selecting "Create" > "Project" from the main menu. Choose "VR Project" as the project template and select "Standalone" as the build settings.
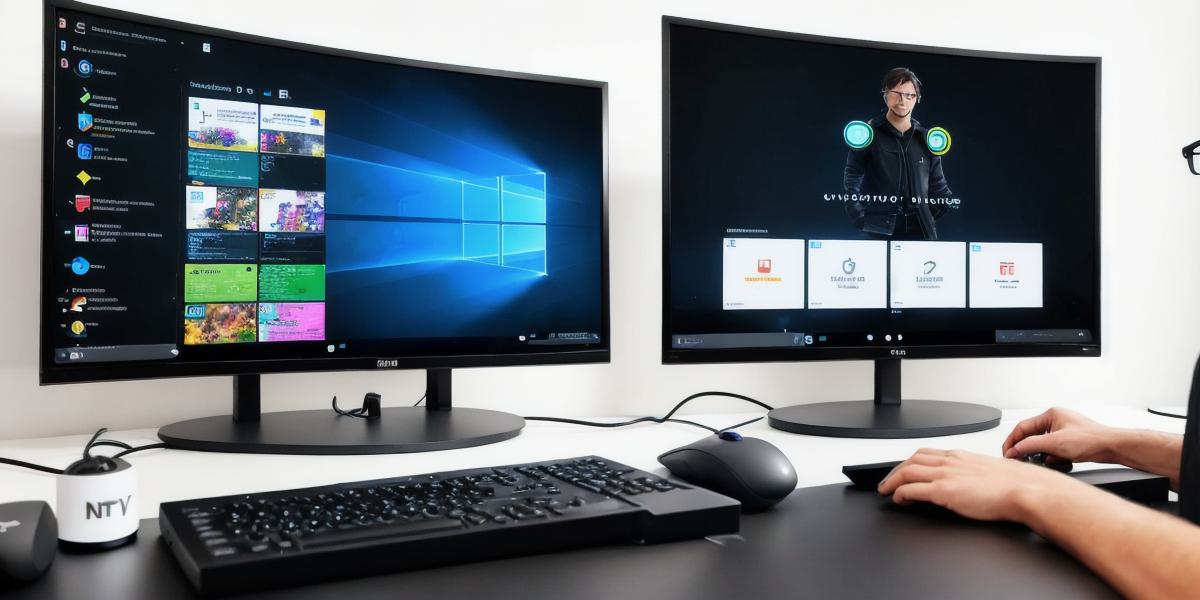
- Set up your Unity Quest 2 – Connect your Unity Quest 2 to your computer using the included USB cable. In Unity, go to "Edit" > "Project Settings" and select "XR" from the left-hand menu. Under "XR Settings," set the device type to "Oculus Quest 2."
- Design your VR environment – Use Unity’s built-in tools and assets to create a virtual environment for your VR experience. You can use pre-made assets or create your own using Unity’s powerful scripting capabilities.
- Add interactive elements – Use C scripts to add interactivity to your VR environment. For example, you can create buttons that trigger different actions or use motion tracking to make objects in the environment react to the user’s movements.
- Test and refine – Once you have created your VR experience, test it on your Unity Quest 2 to ensure everything is working correctly. Make any necessary adjustments to improve the user experience.
Unity Quest 2 development can be challenging, but with the right tools and knowledge, anyone can create engaging and interactive VR experiences. If you are new to VR development, it’s essential to start small and build from there. With practice and dedication, you can become a skilled Unity Quest 2 developer in no time.
In conclusion, Unity Quest 2 offers developers an exciting opportunity to create immersive and interactive VR experiences. With the right tools and knowledge, anyone can get started with Unity Quest 2 development. Remember to start small, practice consistently, and always strive for excellence. Happy developing!
FAQs:
- What programming languages does Unity support?
- Unity supports multiple programming languages, including C, JavaScript, and Boo. However, most developers use C due to its versatility and performance.
- Can I create VR experiences for other devices using Unity Quest 2?
- While Unity Quest 2 is specifically designed for standalone VR experiences, you can also export your Unity Quest 2 project to other VR platforms, such as Oculus Rift or HTC Vive, with the appropriate build settings.