Are you a developer looking to create engaging and interactive games using Unity? Look no further! In this tutorial, we’ll take you through the steps necessary to develop a Unity game using C.
Getting Started with Unity
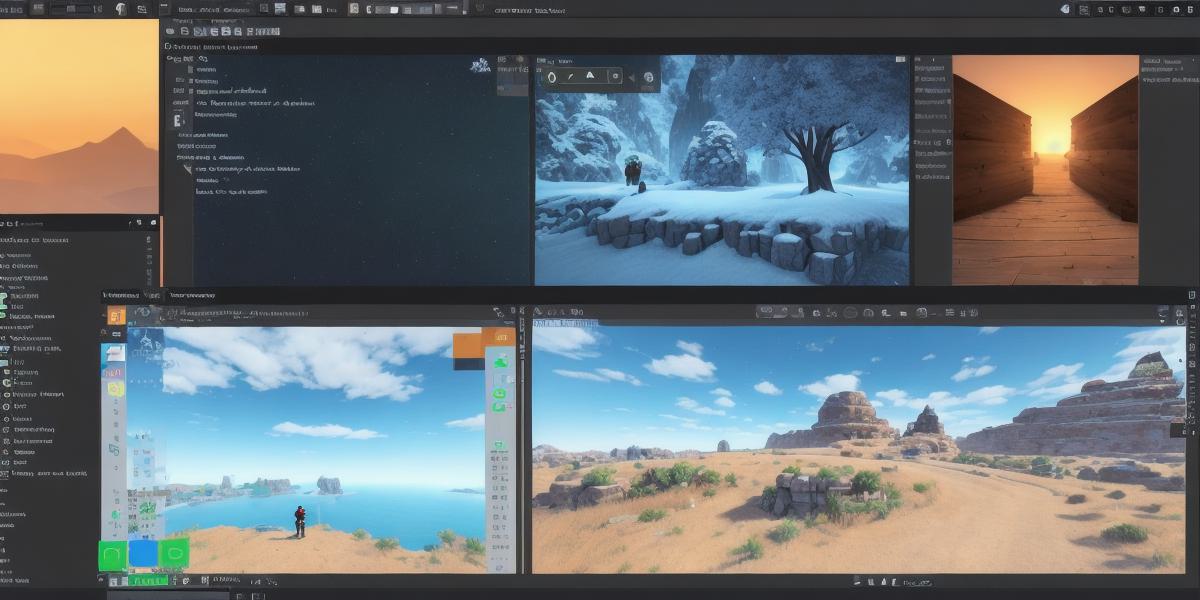
Unity is a powerful game engine that allows developers to create games for various platforms such as PC, mobile, and consoles. To get started with Unity, first, download and install the latest version of Unity from the official website. Once installed, open Unity and create a new project. You can choose from 2D or 3D templates depending on your preference.
Installing C in Unity
C is a popular programming language used for game development in Unity. To install C in Unity, go to the "Window" menu and select "Packages." Then, search for "C Scripting" and click on it. Once installed, you can start writing your own C scripts.
Creating a Game Loop
The game loop is the heart of any game. It’s responsible for updating the game state and rendering the game objects. To create a game loop in Unity using C, you need to write code that runs continuously. Here’s an example:
void Start() {
    while (true) {
        // Update game state here
        Update();

        // Render game objects here
        Render();

        // Wait for a frame before updating again
        Time.deltaTime  1 / 60;
    }
}
In this example, we use a while loop that runs continuously until the game is stopped. Inside the loop, we update the game state using the Update() function and render the game objects using the Render() function. We also include a delay of 1/60 frames per second to ensure smooth rendering.
Adding Interactivity
To add interactivity to your game, you can use C scripts to control game objects’ behavior. For example, you can create a script that allows the player to move their character by checking for user input such as keyboard or mouse clicks. Here’s an example:
<h2>using UnityEngine;</h2>

public class PlayerController : MonoBehaviour {
    public float speed  5f;

    private Vector3 movementInput;

    void Update() {
        // Get user input
        movementInput  new Vector3(Input.GetAxisRaw("Horizontal"), Input.GetAxisRaw("Vertical"), 0);

        // Move the character based on user input
        transform.position + movementInput * speed * Time.deltaTime;
    }
}
In this example, we use the Input.GetAxisRaw() function to get the player’s input and move the character accordingly. You can also create scripts for other game objects such as enemies or power-ups to add more interactivity to your game.
Adding Animation
Animation is a crucial part of game development, especially when it comes to creating realistic characters. Unity has built-in animation tools that allow you to create and import animations easily. To add animation to your game using C, you can use the AnimatorController component and create animations in the Animation window. Here’s an example:
<h2>using UnityEngine;</h2>

public class CharacterAnimation : MonoBehaviour {
    public Animator anim;


    void Update() {
        // Play an animation when the player presses a button
        if (Input.GetButtonDown("Jump")) {
            anim.
void Update() {
// Play an animation when the player presses a button
if (Input.GetButtonDown("Jump")) {
anim.