Meta Quest 2 is an increasingly popular virtual reality platform that has captured the attention of gamers, educators, and developers alike. With its large user base and growing market share, it’s no surprise that many developers are looking to create experiences for this platform using Unity, one of the most widely-used game engines in the industry. In this article, we will explore how to start developing for Meta Quest 2 using Unity, including best practices, tips and tricks, and case studies from experienced developers.
Getting Started with Meta Quest 2 Development
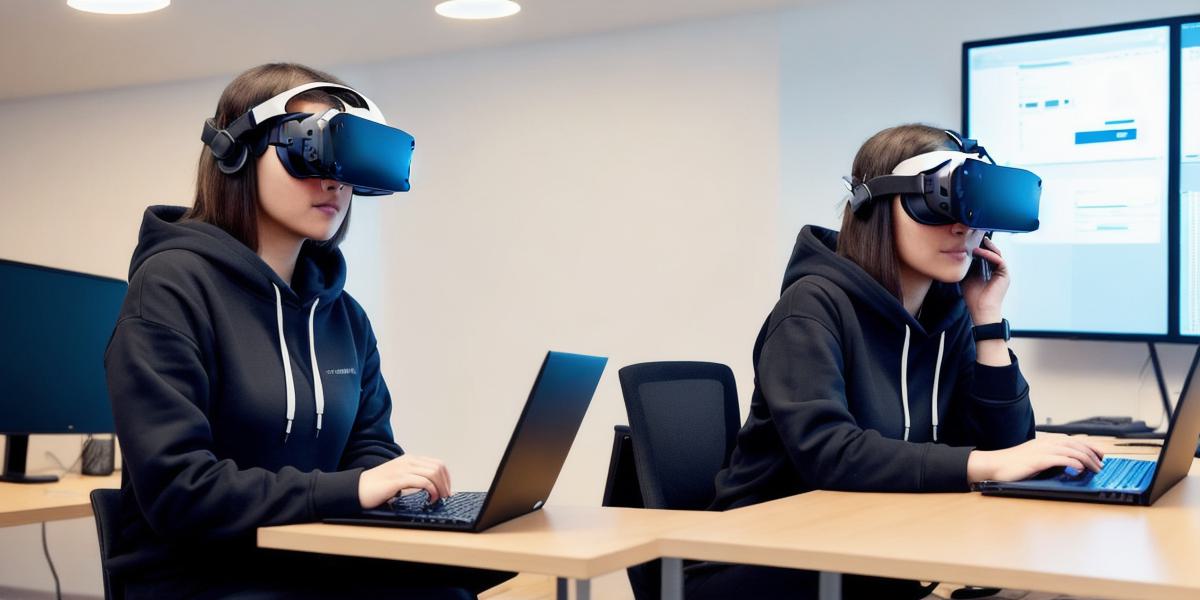
The first step in any development project is setting up the environment. For Meta Quest 2 development using Unity, this means installing both Unity and Meta Quest 2 on your computer. You can download the latest version of Unity from the official website, while Meta Quest 2 can be purchased from the Oculus store.
Once you have installed both software, you will need to create a new project in Unity. To do this, open Unity and select "Create New Project." From there, choose "Virtual Reality" as the project template and select "Meta Quest 2" as the platform. This will generate a new project with the necessary settings and configurations for Meta Quest 2 development.
Best Practices for Meta Quest 2 Development
Now that you have set up your environment, it’s time to start building! When developing for Meta Quest 2 using Unity, there are several best practices that you should follow to ensure a smooth and successful development process. These include:
- Optimize your code: With limited processing power and memory available on Meta Quest 2, it’s important to optimize your code to minimize performance issues and ensure a seamless user experience. This includes using efficient data structures, minimizing unnecessary object instantiations, and avoiding excessive draw calls.
- Test extensively: Testing is critical when developing for any platform, but especially so when working with limited hardware. It’s important to test your Meta Quest 2 application on as many devices as possible to ensure compatibility and identify and fix any bugs or issues before release.

- Keep it simple: Meta Quest 2 has a smaller user base compared to other VR platforms, so it’s important to keep your application simple and easy to use. Avoid complex controls or features that may confuse or frustrate users.
- Follow best practices for VR development: While Meta Quest 2 is unique in some ways, it still follows many of the same best practices for VR development as other platforms. This includes optimizing for motion sickness, using intuitive controls, and providing clear guidance to users.
Case Studies: Success Stories in Meta Quest 2 Development
Now that we have covered some best practices for Meta Quest 2 development let’s take a look at some real-life examples of successful applications developed for this platform using Unity.
- "Beat Saber": Beat Saber is a music rhythm game that has become one of the most popular VR games of all time, with millions of users worldwide. Developed by Beat Games and released in 2018, Beat Saber was initially designed for Oculus Rift but was later ported to Meta Quest 2. The game’s success on Meta Quest 2 is a testament to the platform’s growing popularity and the potential of Unity for VR development.
- "Job Simulator": Job Simulator is another popular VR game that was developed by Oculus VR and released in 2016.