Introduction:
If you’re a developer looking to create immersive games and experiences for the latest gaming platform, you’ll want to learn how to start Unity development on Steam Deck. In this comprehensive guide, we’ll walk you through the steps needed to get started with Unity development on Steam Deck, including best practices, tips, and tricks.
Why Choose Unity Development for Steam Deck?
Unity is a powerful game engine that offers developers a wide range of tools and features for creating high-quality games and experiences. With its user-friendly interface and cross-platform capabilities, Unity has become one of the most popular game engines on the market today. And with the release of Steam Deck, a portable gaming console designed by Valve Corporation, Unity developers have even more opportunities to reach a wider audience.
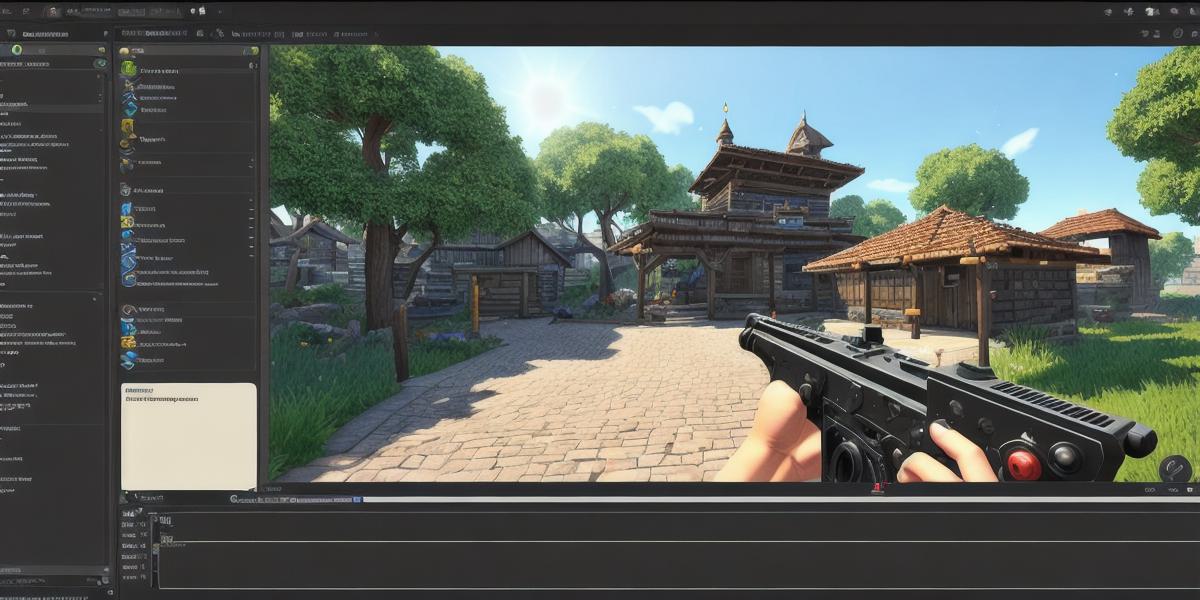
Getting Started with Unity Development on Steam Deck:
To get started with Unity development on Steam Deck, you’ll need to follow these steps:
- Install Unity Hub: Unity Hub is a desktop application that provides easy access to all your Unity projects and settings. You can download it from the official Unity website.
- Create a new project: Once you have installed Unity Hub, open it up and create a new project by clicking on the "Create" button in the top left corner of the window.
- Choose your template: Unity offers a variety of templates to help you get started quickly. For Steam Deck development, we recommend using the "2D" or "3D" template depending on your project requirements.
- Set up your workspace: Once you have created a new project and chosen a template, it’s time to set up your workspace. This includes creating folders for your assets, scripts, and other files, as well as setting up your scene view and game window.
- Import your assets: Next, you can import your assets into your project, including images, audio files, and 3D models. Unity has a built-in asset store where you can find a wide variety of free and paid assets to use in your projects.
- Write your code: With your assets imported and your workspace set up, it’s time to start writing code. Unity uses C as its primary programming language, so if you’re familiar with that, you’ll be right at home. If not, there are plenty of resources available online to help you learn.
- Test and refine: Finally, once you have written your code and imported your assets, it’s time to test and refine your game or experience. Unity offers a built-in debugger and profiler to help you identify and fix any issues, as well as tools for optimizing performance.
Best Practices for Unity Development on Steam Deck:
To ensure that your Unity development on Steam Deck is successful, it’s important to follow these best practices:
- Optimize for performance: With its portable design, Steam Deck has limited hardware resources compared to traditional gaming PCs. Therefore, it’s important to optimize your game or experience for performance to ensure a smooth playing experience.
- Use cross-platform capabilities: Unity is designed to be cross-platform, which means you can create games and experiences that run on multiple platforms, including Steam Deck. This can save you time and resources in the long run.
- Test extensively: Given the unique nature of Steam Deck, it’s important to test your game or experience extensively on this platform to ensure it works as expected. This includes testing for compatibility with different hardware configurations and software versions.